
In this write-up, you will learn how to download the Resetter Epson L360 tool or adjustment program at no cost. The write-up consists of a step-by-step tutorial that guides you throughout the way. So, read on to get in-depth knowledge.
The Epson L360 is an all-in-one inkjet printer that is uniquely designed for home use. The printer is highly capable of printing pages in high volumes as well as good enough to produce high photo printing inside a single ink tank refill. Irrespective of having robust functionalities, sometimes after printing the various pages, the printer shows an error message saying Service Required on the computer screen.
In addition to this error code, you will also notice the red light flashing on your Epson L360 printer’s control panel. In this situation, many users call the service engineer of the Epson printer, but we assure you that one can fix this error just by using the Epson L360 reset tool named Adjustment Program.
What is Epson L360 Adjustment Program
It is an adjustment program launched by Epson itself for resolving the numerous technical glitches of the Epson L360 printer. It is also known as the Epson L360 resetter tool. Through resetting the Epson L360 printer, you can ensure the best work of your Epson L360 or other L series printer.
Therefore, we have created this downloading guide to explain to you how you can download the Epson adjustment program for free. In this write-up, we have provided a 100% working download link to get the resetter tool for the Epson L series for free. You do not need to crack the Epson L360 resetter tool. But, to access this adjustment program you need to access the password as well.
Just download the complete version of the adjustment software from this download link.
But, to open or run the file you need to enter the password i.e,fpdd. And, then comply with the steps shared following it.
Also Know: Epson L3250 Printer & Scanner Driver Download and Install For Windows 11/10
What is Epson L360 Adjustment Program?
It is an adjustment program launched by Epson itself to resolve the numerous technical glitches of the Epson L360 printer. It is also known as the Epson L360 resetter tool. By resetting the Epson L360 printer, you can ensure the best work for your Epson L360 or other L series printer.
Therefore, we have created this downloading guide to explain to you how you can download the Epson adjustment program for free. In this write-up, we have provided a 100% working download link to get the resetter tool for the Epson L series for free. You do not need to crack the Epson L360 resetter tool. But to access this adjustment program, you need to access the password as well. You can follow the steps mentioned below.
How to Run Epson L360 Resetter Tool or Adjustment Program
This step-by-step guide includes a download link for the program as well as instructions for using the Epson L360 Resetter Tool.
The Epson L360 resetter tool is simple to use—you just need to download it and adhere to the instructions below. Here are the steps for downloading the resetter Epson L360 full crack so you can use it to reset the ink tank counter.
Step 1: Just download the complete version of the adjustment software from this download link.
Step 2: But to open or run the file, you need to enter the password, i.e., fpdd. And then comply with the steps shared, following them.
Important: Before proceeding with the steps, just make sure to disable the antivirus software for some time. Once you have performed the steps, you can enable it again.
Step 3: Launch the tool on your system by extracting or unzipping the Epson adjustment program zip file into the folder.
Step 4: Next, in the unzipped folder of Epson L360, locate and click double on the Adjprog.exe to run it.

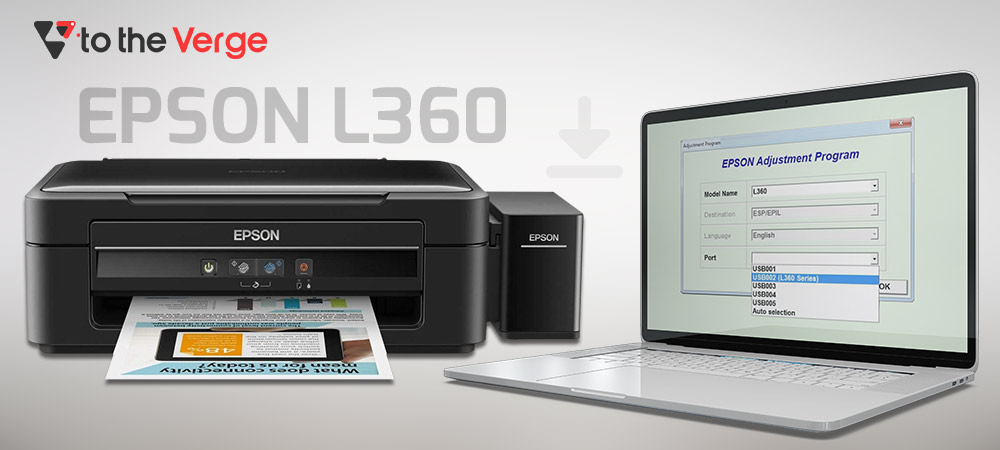
Step 5: Now, this will take you to the first wizard of the adjustment program. Here, you have to click on the option named Select.

Step 6: After this, choose the model name of your Epson printer from the drop-down menu. In this case, choose the Epson L360.

Step 7: Choose the port to which your Epson L360 printer is attached.

Step 8: Once you have chosen the model name and port, click on the OK button to proceed further.

Step 9: Choose an option called Particular Adjustment Mode.

Step 10: Select the Waste Ink Pad Counter under the Maintenance category. Click on the OK option.

Step 11: This will trigger the Waste Ink Pad Counter screen. Now, you have to check the box adjacent to the Main Pad Counter and then click on the Check button.

Step 12: Now, you will notice the pop-up saying Reading Now, do not try to cancel this operation; let it finish the action.

Step 13: Next, you will see various scores next to the Main Ink Pad Counter. The scores will be in percentage; you need to make a few of them zeros. Then, again, you need to click on the box presented before the Main Ink Pad Counter and choose Initialize.

Step 14: Now, the pop-up displays a message saying “When the OK button is clicked, the counter will be initialized“. Click on OK.

Step 15: Thereafter, another pop-up appears saying, Please Turn Off the Printer. Click on OK.

Step 16: The next pop-up states, Please Reboot the System, so click on OK.

Step 17: To proceed ahead, click on the Finish button.

Step 18: Now, check to ensure whether the Main Ink Pad Counter readings convert to zero or not. To do so, you need to again choose the Waste Ink Pad Counter under the Maintenance category and then click on Ok.

Step 19: Then, checkmark the Main Ink Pad Counter box and select Check. After this, the pop-up box appears, saying, Reading Now, let it perform the operation.
Step 20: Once checking has been performed, be sure that both fields of the Main Ink Pad Counter should display 0. If, in this case, it doesn’t display 0, then unfortunately, you will need to re-perform the steps.
Step 21: Lastly, click on the Finish button to complete the process. Later on, quit the Epson Adjustment Program.

After resetting the Epson L360 printer, your system or printer should not show any errors, and your printer should be printing accurately. Now, try to use your Epson L360 printer in order to see if the printer glitches have resolved or not.
Also know: How to Download & Install Epson L121 Printer Driver in Windows
Epson L360 Resetter Tool or Adjustment Program Download – Done Successfully
So, if you have an Epson L360 printer, then you should use the Epson L360 Resetter tool on your PC, as it will save a lot of money that you spend on the maintenance of the printer. In this write-up, you have learned about the steps you need to perform to reset the Epson L360 printer.
In this downloading guide, we have also provided the link to download the resetter Epson L360 tool. We hope you have liked it. Leave your queries in the box below. We will make our best endeavors to fix your queries. Plus, if you have suggestions, then share them in the comments below. For more helpful guides like this one, subscribe to our newsletter. Plus, you can follow us on Twitter, Instagram, LinkedIn, and Facebook for an immediate response.
Snehil Masih is a professional technical writer. He is passionate about new & emerging technology and he keeps abreast with the latest technology trends. When not writing, Snehil is likely to be found listening to music, painting, traveling, or simply excavating into his favourite cuisines.


![How to Update and Reinstall Keyboard Drivers on Windows 10/11 [A Guide]](https://wpcontent.totheverge.com/totheverge/wp-content/uploads/2023/06/05062841/How-to-Update-and-Re-install-Keyyboard-Drivers-on-Windows-10.jpg)
